Printing a design and saving to PDF
Printing from the editor
Once your course design is ready, you can print it or save it as a PDF for later use.
The workflow is the same for both actions. At the final step, Print opens your system print dialog, while Save as PDF lets you choose where to store the file.
To print, select the Print command from the Project menu or use the default keyboard shortcut control-P.
To save as PDF, select the Save as PDF command from the Project menu or use the default keyboard shortcut control-S.
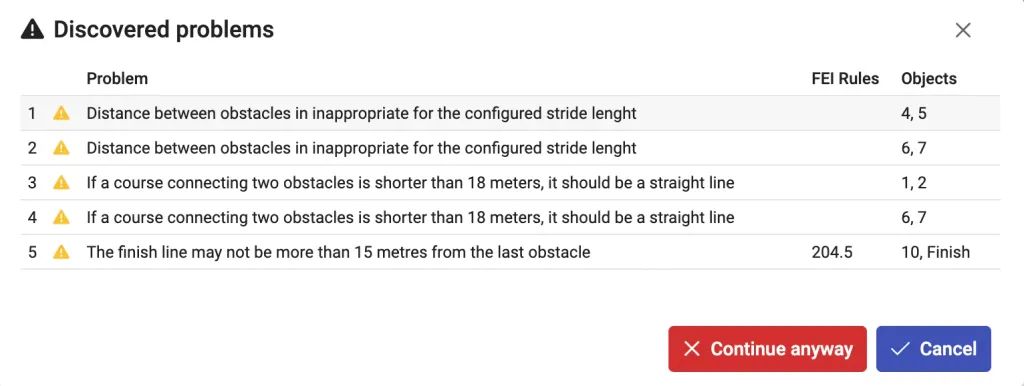
After you run either command, the app checks your layout. If design validation finds errors, a warning window appears. You can return to fix them or continue anyway.
Next, select which pages should be included in the printout.
Some pages include additional options. Expand them by clicking the dash to the left of the page name, as shown below.
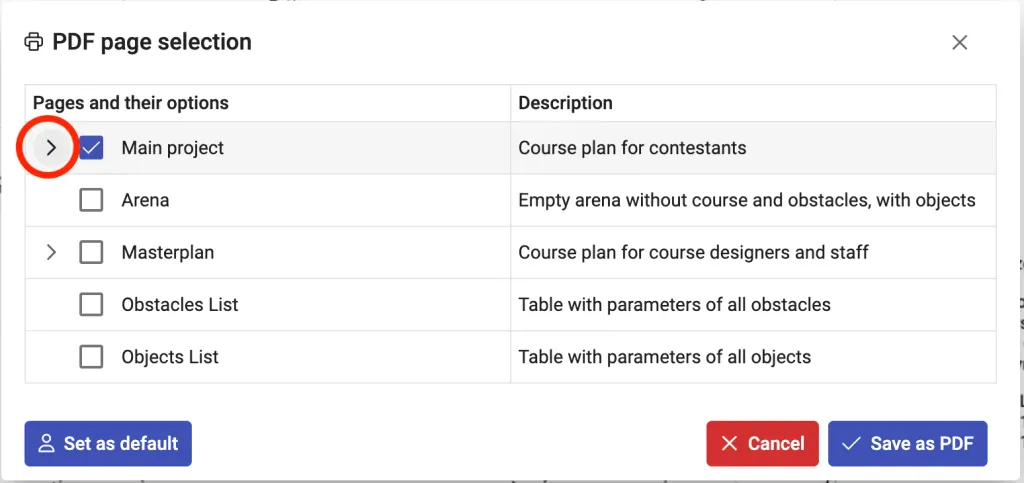
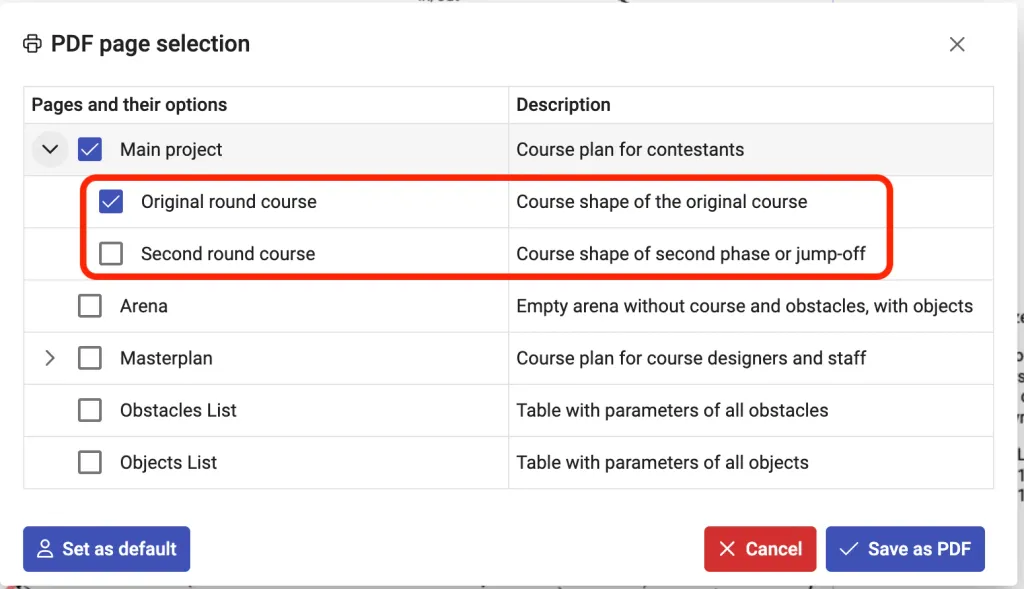
Selecting Set as default saves the current page selection and page options as your personal defaults for future sessions. If you do not save them, the settings return to application defaults after restart.
Selecting Save as PDF or Print opens the system dialog to complete the selected operation.
An example printout is shown below.
Printing from the Design Explorer
You can also print directly from the Design Explorer, without opening a design in the editor. Click the printer icon next to a design preview.
You can also print all designs within an Event in one pass by using the printer icon next to the event name.
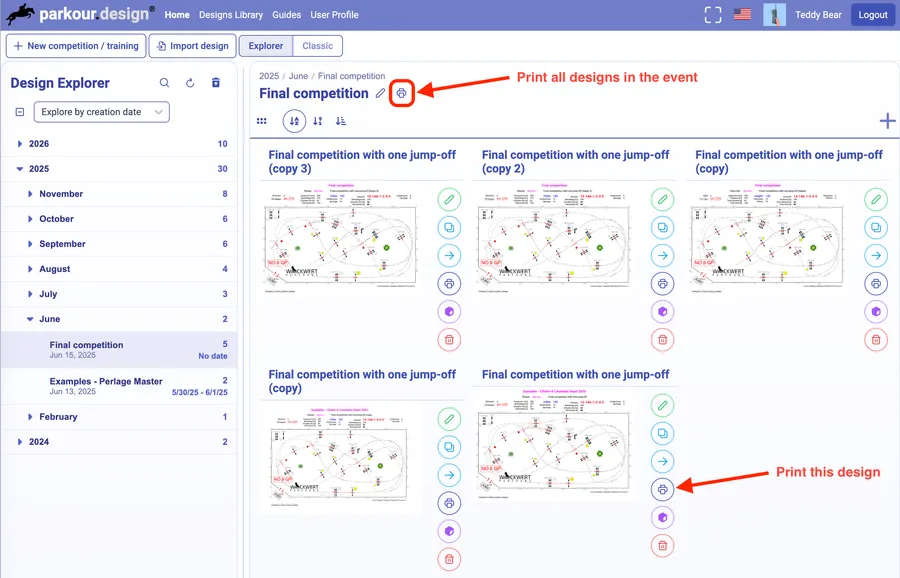
Before printing, you can configure pages the same way as in the editor (see above). When you print multiple designs together, the same page settings apply to every design in that batch.