

We will continue to improve 3D visualisation and be adding to the future updates new shiny objects and features. Please share your ideas commenting at the end of this page, sending an e-mail to support@parkour.design or using the chat embedded in the application.
IMPORTANT NOTE
3D visualisation requires a desktop computer and a browser with WebGL2 support, best if equipped with a GPU and at least 8GB of RAM. Many of the regular home laptops and computers meet these criteria, but if you have a lower spec, you may experience that the visualisation does not start, is very slow, or hangs the application. There may be not much to do other than upgrading your equipment, but please let us know your experience. We will continue optimising the visualisation.
Starting 3D Visualisation
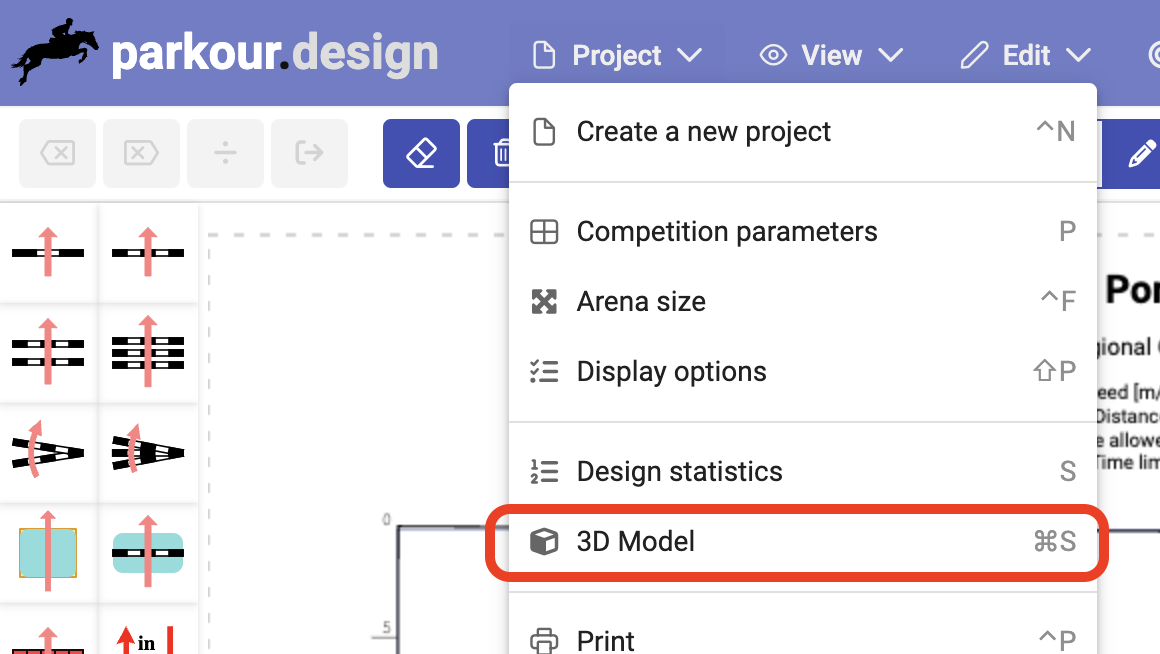
The design can be presented in 3D to check what it could look like in real life. The 3D visualisation is available in the design editor by choosing a cube icon in the toolbar, selecting 3D Model command from the Project menu or using a keyboard shortcut (default shortcut Command-S).
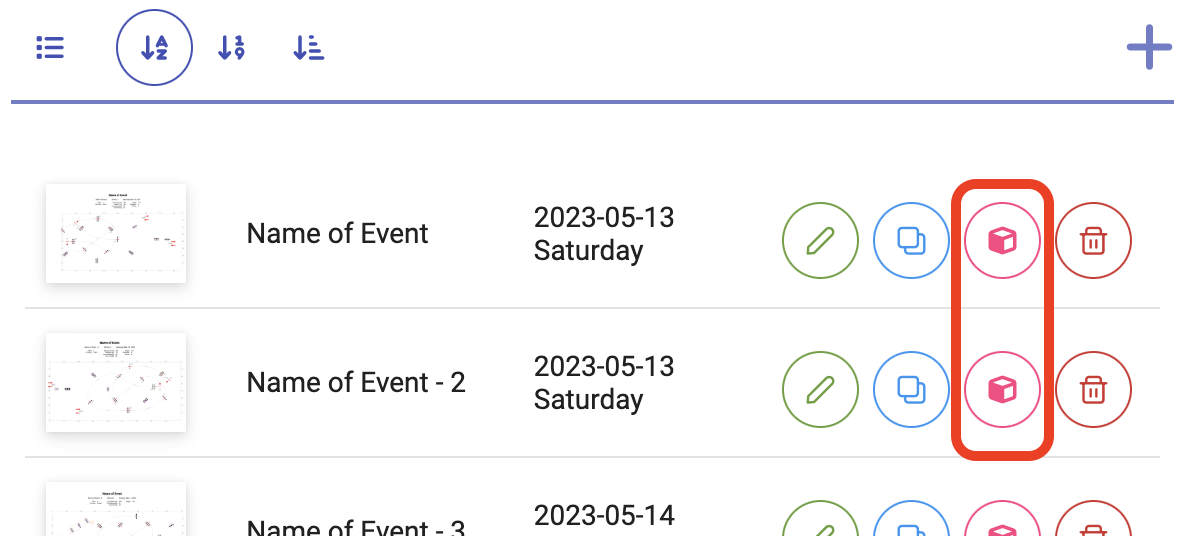
3D Visualisation can also be triggered directly from Your Projects or Designs Library screens as an alternative way of previewing the designs.
Basic operations
Choosing 3D Visualisation will cause a new dialog window to pop up with the rendering of the course. The basic interactions with that window are the following:
- To play with the 3D world, click on the rendering. This will cause the mouse pointer to disappear and all controls will be done from the keyboard.
- To exit the 3D world, press Escape once. This will make the mouse pointer to appear again. Pressing the Escape second time will close the dialog window.
- To exit the 3D world and save all of the 3D settings, press Enter or click the Done button.
- To show instructions what functions are available in the 3D world, press ? key or click Help button. Pressing ? second time will hide the instructions.
- To go full screen, press 0 (zero). Press it second time or press Escape to exit full screen mode.
Movement modes
In the 3D world, there are two basic movement modes:
- Free flight mode – this is the default mode – it allows the user to freely fly over the course and not collide with any objects.
- Controls in the Free Flight Mode are WASD or arrows for movement, QE for rotation, Control/Space for up/down and Mouse for the direction of flight.
- Walk on the ground mode – user can walk on the grounds using the same keys and mouse as in the previous mode. Space is used for jumping.
- The modes can be toggled using G key.
Additional controls working in both modes are:
- Shift – speed up while pressed
- +/- – accelerate or slow down
- Mouse wheel – zoom in or out
Flying over the course
Automatic flight over the course can be started and stopped by pressing F. During the flight it is not possible to move the viewer, but it is possible to look around using the mouse.
Changing display options
The following objects or features of the 3D scene can be changes using keys:
- Key 1: toggles visibility of the course line
- Key 2: changes the animation of the course line
- Key 3: toggles shadows in the scene
- Key 4: toggle visibility of the audience stand and chairs
Using < and > keys it is possible to change the time of the day, to simulate different lighting conditions and shadows.
The current setup of the display options can ba saved by pressing Enter, so it will be preserved in the next 3D visualisation.
Recording a video
A capture of a video of the 3D scene can be started and stopped using key P. When stopped, it will be possible to save the video to a file on the computer. During capture a frame around the scene is set to red to indicate the capture is in progress.
The video is saved in webm format, which has high compression and the quality of the video may be compromised. To achieve better quality please use external tools to capture the screen, for example built-in Mac OS video capture.
Leave a Reply